Vlasic Dill Pickle Recipe
There’s a particular kind of joy in cracking open a jar of homemade dill pickles and hearing that same crisp snap you remember from your favorite store-bought jar.
This Vlasic dill pickle copycat recipe brings back that nostalgic crunch, but made the old-fashioned way – through natural fermentation, using little more than salt, water, and time.
No vinegar shortcuts, no store run required. Just fresh pickling cucumbers, flowering dill, warm spices, and a little patience while beneficial bacteria work their quiet magic.
If you’ve ever wondered how to make a Vlasic dill pickle recipe at home, this guide walks you through every step, from brine to crock to fridge, so you can enjoy that classic tangy crunch anytime, just like the Joe Jost Pickled Egg.
What Is a Vlasic Dill Pickle and Why Do Fans Love It?
A Vlasic dill pickle is known for its bold garlicky bite, briny tang, and that unmistakable crisp snap fans crave. Unlike quick vinegar pickles, a true copycat Vlasic dill pickle recipe relies on lacto-fermentation, an age-old preservation method where salt brine encourages naturally occurring bacteria to convert sugars into lactic acid.
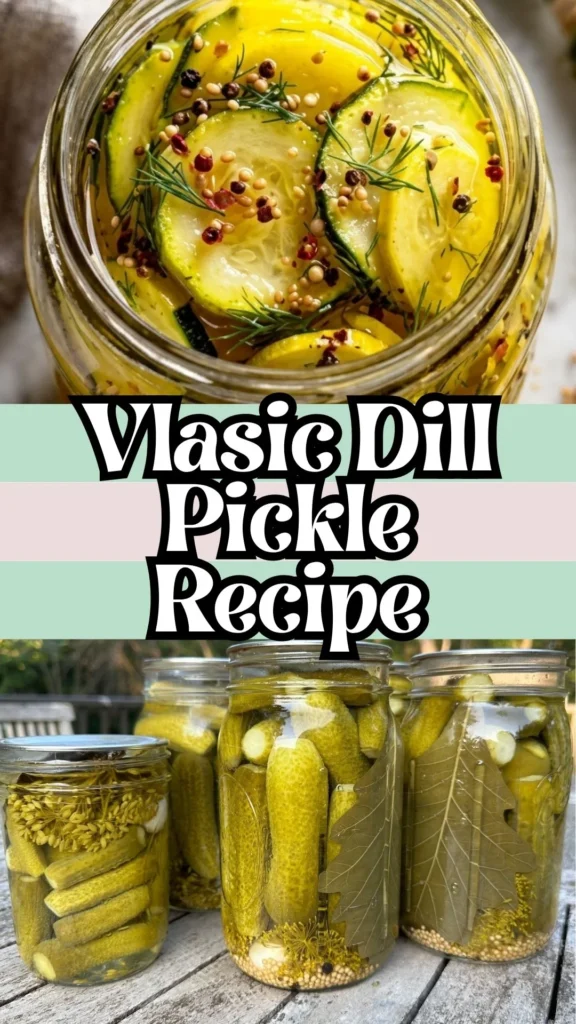
This is what gives fermented pickles their deep, tangy sourness rather than a sharp vinegar bite. Compared to refrigerator pickles or bread-and-butter varieties, Vlasic-style dill pickles lean savory, garlicky, and slightly funky in the best way.
The nostalgia runs deep too – many people grew up snacking on these straight from the jar, pairing them with Scooby Sandwichs, or watching grandparents ferment cucumbers in stoneware crocks. That homemade authenticity is exactly why this style remains a favorite decades later.
Ingredients for Homemade Vlasic Dill Pickles
For the pickles:
- 2 lbs small pickling (Kirby) cucumbers, very fresh and firm
- 4–5 sprigs fresh flowering dill (or 2 tablespoons dried dill weed)
- 6–8 garlic cloves, peeled
For the brine (makes about 4 cups):
- 4 cups cold water
- 4 tablespoons kosher salt (1 tablespoon per cup of water)
- 1 tablespoon whole coriander seed
- 1 teaspoon black peppercorns
- 3–4 bay leaves
- 2 whole cloves
Key Ingredient Substitutions
Cucumbers: Kirby cucumbers are ideal for this Vlasic dill pickle copycat recipe because they’re small, firm, and low in seeds. If you can’t find Kirbys, look for any small, unwaxed pickling cucumber at a farmer’s market.
Dill: Flowering dill delivers the most authentic, classic pickle flavor, but dried dill weed works in a pinch – just double the amount since drying mutes potency.
Salt: Kosher salt or pickling salt is essential here. Avoid iodized table salt, which contains anti-caking agents that can cloud the brine and interfere with fermentation.
Garlic: Fresh peeled cloves are traditional, but roasted garlic can be swapped in for a milder, sweeter undertone if you prefer less bite.
Tools You Need to Make This Recipe at Home
- A fermentation crock or large glass jar (2-quart capacity works well)
- A small ramekin or fermentation weight to keep cucumbers submerged
- A saucepan for warming the brine
- A ladle
- Measuring cups and spoons
- A lid or clean cloth cover
Prep Time: 20 minutes
Fermentation Time: 7–10 days
Total Time: About 1 week to 10 days
Step-by-Step Instructions to Make This Recipe
1. Make the brine: In a saucepan, combine cold water, kosher salt, peeled garlic cloves, coriander seed, peppercorns, bay leaves, and whole cloves.
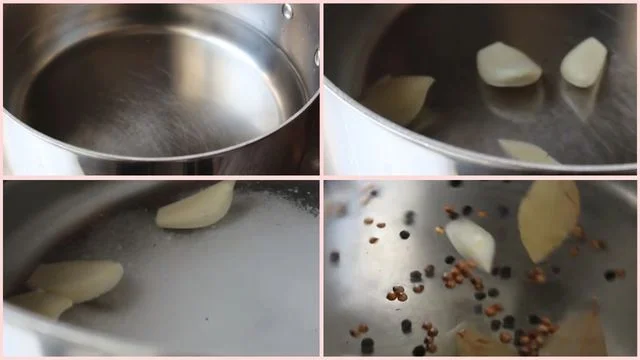
Warm gently over low heat just until the salt dissolves – you’re not trying to cook anything, just take the chill off and help the salt fully incorporate. Let the brine cool to room temperature.
2. Layer the crock: Place a layer of dill in the bottom of your crock, followed by a layer of cucumbers, then more dill, then more cucumbers, until everything is packed in.
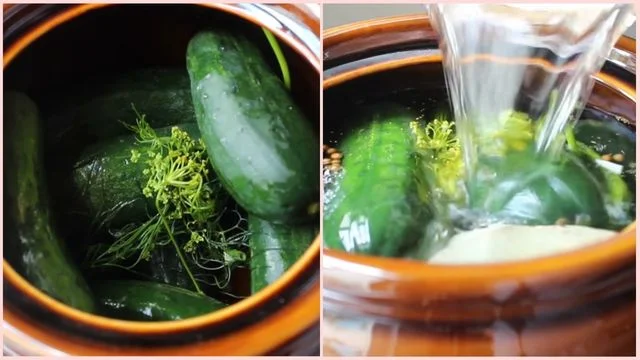
3. Add the brine: Ladle the room-temperature brine over the cucumbers, filling the crock nearly to the top.
4. Release air bubbles: Gently shake or tap the crock to help trapped air bubbles rise to the surface.
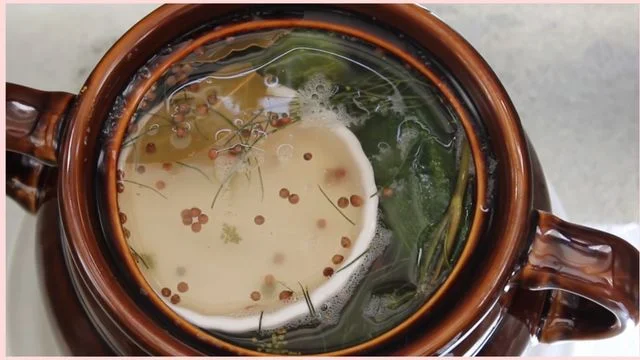
5. Weigh them down: Place a small ramekin or fermentation weight on top of the cucumbers to keep them fully submerged, then top off with a bit of extra brine if needed.
6. Cover and store: Cover the crock and place it somewhere with a consistent temperature between 65–75°F.
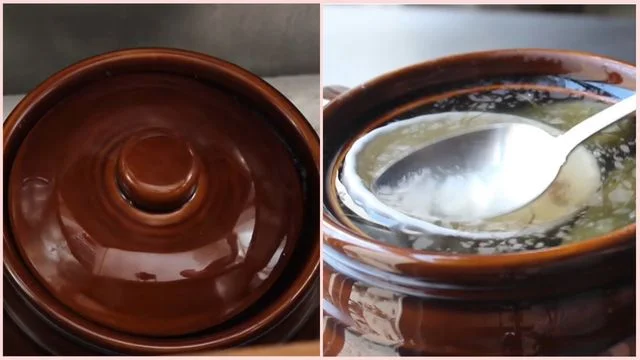
7. Monitor fermentation: Check daily. Bubbles, cloudiness, and even a thin white film (harmless surface yeast) are normal – simply skim it off or flood the top with fresh brine to clear it away.
8. Taste test: After about a week, pull one out and taste it.
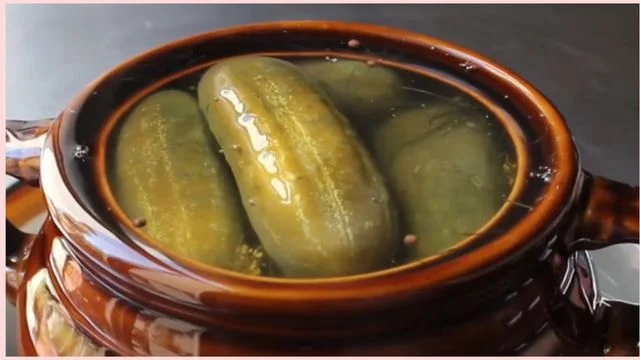
The longer it ferments, the more sour it becomes.
9. Transfer and refrigerate: Once fermented to your liking, move the pickles and brine into a fridge-safe container.
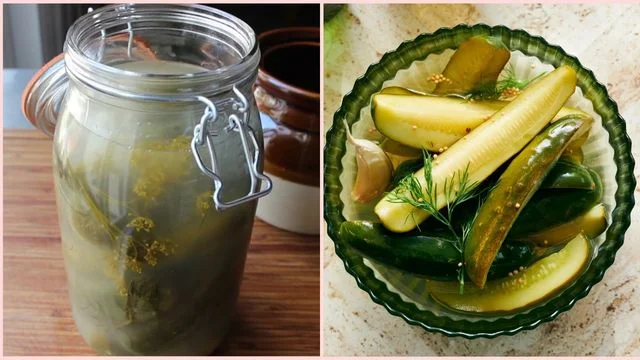
The brine may look cloudy at first, but it will settle and clear within a day or two.
Pro Tips for Getting the Flavor Just Right
The single most common mistake is using the wrong salt – always stick to kosher, sea, or pickling salt, since table salt’s additives can disrupt fermentation and cloud your brine. Keep cucumbers fully submerged at all times; any piece exposed to air can spoil rather than ferment properly.
Temperature matters too: aim for a consistent 65–75°F environment, since fluctuations can slow or stall the process. Don’t panic over bubbles, foam, or cloudy brine – these are signs that beneficial bacteria are actively working, not signs of spoilage. A thin white film on top is typically harmless yeast and can be skimmed away.
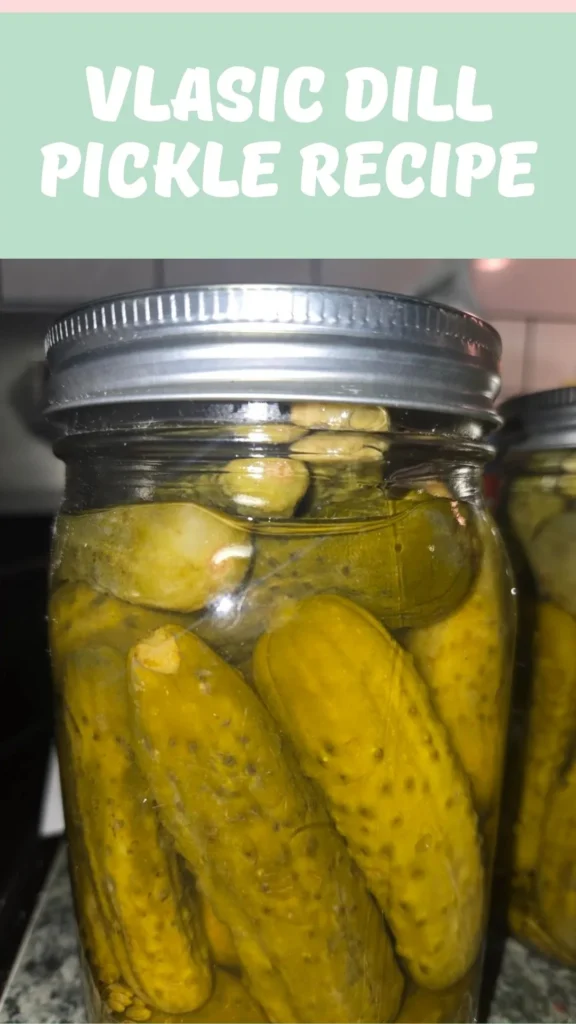
Bay leaves aren’t just for flavor; their natural tannins help keep pickles crisp, so don’t skip them. Finally, taste as you go – fermentation time is flexible, and letting pickles go longer simply deepens their sourness, so trust your palate over the clock.
Easy Variations to Customize This Recipe
One of the best parts of this Vlasic dill pickle copycat recipe is how forgiving it is with spices. Add red pepper flakes or a sliced jalapeño for a spicy kick. Toss in extra garlic cloves for a punchier bite, or add mustard seed and dill seed alongside the coriander for more complexity.
For a slightly sweeter profile, a few thin slices of onion layered in with the cucumbers works beautifully. You can also experiment with fresh grape or oak leaves, which some fermenters swear by for extra crispness thanks to their natural tannins.
Since there’s no single “correct” spice blend, feel free to treat this as a base recipe and make it your own.
Best Ways to Enjoy This Recipe in Your Meals
Homemade Vlasic-style dill pickles are endlessly versatile once they’re fridge-ready. The most classic use is simply alongside a sandwich or burger, where their tang cuts through rich, fatty flavors perfectly. Chop them up for a punchy addition to potato salad, egg salad, or tuna salad.
They’re also fantastic diced into relish for hot dogs or burgers, giving you full control over the flavor compared to store-bought versions. For snacking, serve them straight from the jar alongside cheese and charcuterie boards – their briny crunch pairs beautifully with sharp cheddar or salty cured meats.
Pickle brine itself shouldn’t go to waste either; use it in salad dressings, marinades for chicken, or even a pickle-brine bloody mary. Fried pickles are another crowd-pleaser if you want to turn a batch into an appetizer. However you serve them, these fermented pickles bring a depth of tangy, garlicky flavor that vinegar-based quick pickles simply can’t replicate.
How to Store and Keep It Fresh
Once fermentation is complete, transfer pickles and their brine into an airtight, fridge-safe container. Refrigeration slows fermentation dramatically, allowing pickles to stay fresh and crisp for several months.
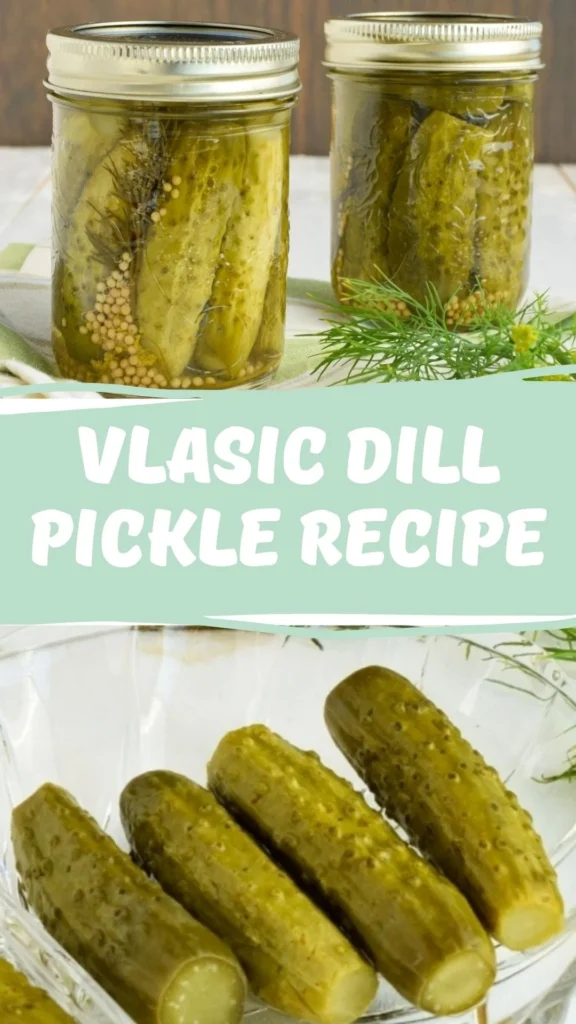
Always keep pickles submerged in brine to maintain quality. No reheating is needed – these are enjoyed cold, straight from the fridge, which helps preserve their signature crunch and tang.
Nutrition Facts and Dietary Notes
A typical serving of fermented dill pickles (about 1 whole pickle) contains roughly 10–15 calories, making them a virtually guilt-free snack. This recipe is naturally vegan, gluten-free, and keto-friendly, since it relies solely on cucumbers, water, salt, and spices.
Fermented pickles also offer potential health benefits, including probiotics from natural lacto-fermentation, which may support gut health. Keep in mind sodium content is relatively high due to the brine, so those watching sodium intake should enjoy in moderation.
How long does it take to ferment homemade dill pickles?
Most batches are ready in about 7 to 10 days, though fermentation time depends on temperature and personal taste – longer fermentation means more sourness.
Why is my pickle brine cloudy?
Cloudy brine is a normal sign that fermentation is working. It typically clears up once the pickles are transferred to the fridge and the sediment settles.
Can I use dried dill instead of fresh flowering dill?
Yes, though fresh flowering dill delivers a more authentic, classic pickle flavor. If using dried dill weed, increase the quantity to compensate for its milder potency.
Is the white film on top of my pickles dangerous?
No, that’s typically just harmless surface yeast. You can skim it off or flood the top with fresh brine to wash it away.
What salt should I use for fermenting pickles?
Stick to kosher salt, sea salt, or pickling salt. Avoid iodized table salt, since its additives can interfere with fermentation and cloud the brine.
How long do homemade fermented pickles last in the fridge?
Once refrigerated, they can last several months, staying crisp and flavorful as long as they remain submerged in brine.
Vlasic Dill Pickle Recipe
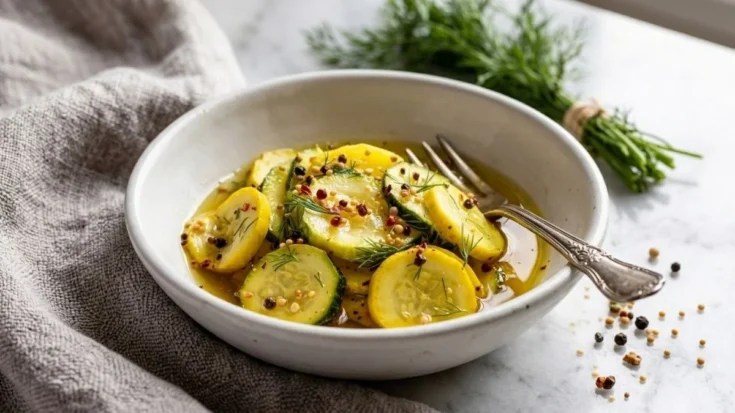
There’s a particular kind of joy in cracking open a jar of homemade dill pickles and hearing that same crisp snap you remember from your favorite store-bought jar. This Vlasic dill pickle copycat recipe brings back that nostalgic crunch, but made the old-fashioned way – through natural fermentation, using little more than salt, water, and time. No vinegar shortcuts, no store run required. Just fresh pickling cucumbers, flowering dill, warm spices, and a little patience while beneficial bacteria work their quiet magic.
Ingredients
- 2 lbs small pickling (Kirby) cucumbers, very fresh and firm
- 4–5 sprigs fresh flowering dill
- 6–8 garlic cloves, peeled
- 4 cups cold water
- 4 tablespoons kosher salt
- 1 tablespoon whole coriander seed
- 1 teaspoon black peppercorns
- 3–4 bay leaves
- 2 whole cloves
Instructions
- Make the brine: In a saucepan, combine cold water, kosher salt, peeled garlic cloves, coriander seed, peppercorns, bay leaves, and whole cloves. Warm gently over low heat just until the salt dissolves – you’re not trying to cook anything, just take the chill off and help the salt fully incorporate. Let the brine cool to room temperature.
- Layer the crock: Place a layer of dill in the bottom of your crock, followed by a layer of cucumbers, then more dill, then more cucumbers, until everything is packed in.
- Add the brine: Ladle the room-temperature brine over the cucumbers, filling the crock nearly to the top.
- Release air bubbles: Gently shake or tap the crock to help trapped air bubbles rise to the surface.
- Weigh them down: Place a small ramekin or fermentation weight on top of the cucumbers to keep them fully submerged, then top off with a bit of extra brine if needed.
- Cover and store: Cover the crock and place it somewhere with a consistent temperature between 65–75°F.
- Monitor fermentation: Check daily. Bubbles, cloudiness, and even a thin white film (harmless surface yeast) are normal – simply skim it off or flood the top with fresh brine to clear it away.
- Taste test: After about a week, pull one out and taste it. The longer it ferments, the more sour it becomes.
- Transfer and refrigerate: Once fermented to your liking, move the pickles and brine into a fridge-safe container. The brine may look cloudy at first, but it will settle and clear within a day or two.
Notes
Once fermentation is complete, transfer pickles and their brine into an airtight, fridge-safe container. Refrigeration slows fermentation dramatically, allowing pickles to stay fresh and crisp for several months. Always keep pickles submerged in brine to maintain quality. No reheating is needed – these are enjoyed cold, straight from the fridge, which helps preserve their signature crunch and tang.
Nutrition Information:
Yield:
8Serving Size:
1Amount Per Serving: Calories: 80
Making your own Vlasic dill pickle copycat recipe at home is easier than it sounds, and the payoff is a jar of tangy, garlicky, naturally fermented pickles far fresher than anything store-bought.
With just cucumbers, dill, garlic, and a simple salt brine, you’re harnessing the same age-old fermentation process people have relied on for generations. Whether you’re doing this for the science, the flavor, or the satisfaction of homemade snacking, it’s well worth the week-long wait. Give it a try, and enjoy!
If you enjoyed this recipe, be sure to save it and share it with friends. Don’t forget to follow us on Pinterest and YouTube for more cozy and comfort recipes.