Umami Ginger Sauce Recipe
The first time I made this umami ginger sauce, I was trying to recreate a dipping sauce from my favorite hibachi restaurant – the one that makes plain steamed rice taste like a special occasion.
After a few kitchen experiments, I landed on this simple blend of ginger, onion, soy sauce, and rice vinegar, and honestly, it topped the restaurant version. It takes less than five minutes to throw together, needs no cooking, and keeps in the fridge for weeks.
This flavorful sauce is also a delicious pairing for Japanese Flank Steak, Guy Fieri Chicken Wings & Chicken Sandwich, adding a savory, tangy finish that complements grilled meats, crispy wings, and hearty sandwiches.
Whether you’re drizzling it over grilled chicken, dunking dumplings, or dressing a rice bowl, this umami ginger sauce recipe delivers big, salty-tangy flavor with almost zero effort.
What Is This Food and Why Do Fans Love It?
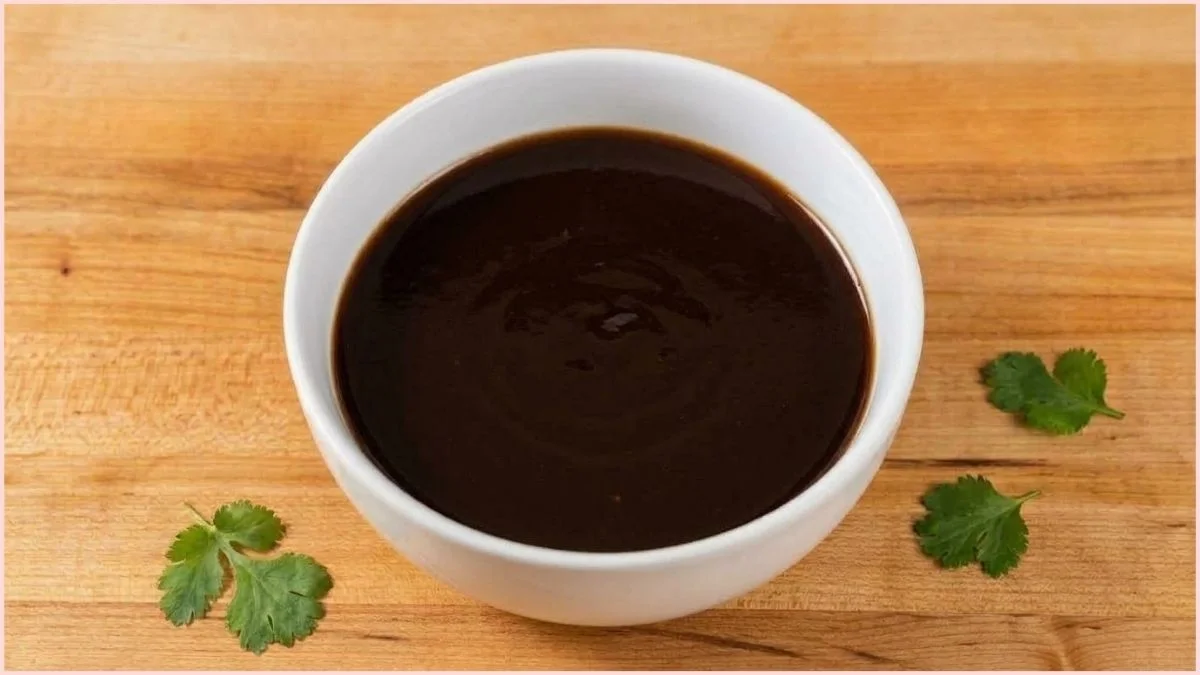
Umami ginger sauce is a raw, blended condiment built on the savory depth of soy sauce, the sharp bite of fresh ginger, and the brightness of lemon and rice vinegar. The result is salty, tangy, faintly sweet, and deeply aromatic all at once – the definition of umami.
It’s closely related to Japanese hibachi ginger sauce, the pale, oniony dressing served at steakhouse grills, though this version leans punchier thanks to lemon zest and juice. Fans love it because it’s endlessly versatile: a marinade, a dipping sauce, a salad dressing, and a finishing drizzle, all in one jar.
Unlike heavier sauces that require simmering or thickening, this one stays fresh, light, and pourable, making it a favorite for anyone craving bold flavor without the fuss.
Umami Ginger Sauce Ingredients
- 2½ ounces (70 g) onion, thinly sliced
- 1 ounce (28 g) fresh ginger, thinly sliced
- Zest of 1 small lemon
- 1½ tablespoons (22 ml) lemon juice
- 1 cup (240 ml) soy sauce
- ½ cup (120 ml) seasoned rice vinegar
- Sugar, to taste (optional)
Key Ingredients Substitutions
- Soy sauce: Swap in tamari for a gluten-free version, or coconut aminos for a soy-free, slightly sweeter alternative (use a little less sugar if using coconut aminos).
- Seasoned rice vinegar: No seasoned rice vinegar on hand? Use plain rice vinegar plus ½ teaspoon sugar and a pinch of salt to mimic the same balance.
- Fresh ginger: In a pinch, ground ginger works (start with ½ teaspoon), though fresh ginger gives a brighter, more authentic umami ginger sauce flavor.
- Onion: Shallot or scallion (white parts) can stand in for onion if you want a milder, slightly sweeter base.
Tools You Need to Make This Recipe at Home
- Food processor or blender
- Cutting board and sharp knife
- Measuring cups and spoons
- Zester or fine grater (for lemon zest)
- Airtight jar or container for storage
Prep time: 5 minutes
Cook time: None (no-cook recipe)
Total time: 5 minutes (plus optional chilling time)
Step-by-Step Instructions to Make This Recipe
1. Prep the aromatics. Thinly slice the onion and ginger so they blend easily.
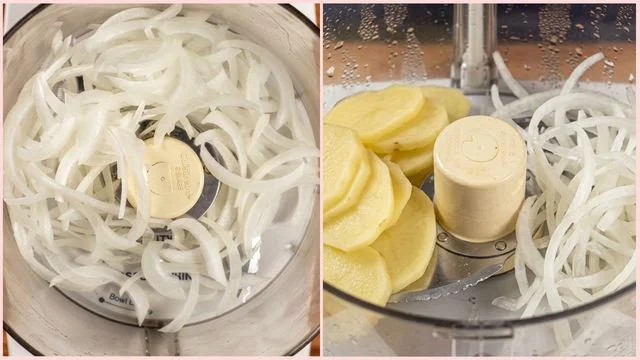
2. Zest and juice the lemon. Set the zest and juice aside.
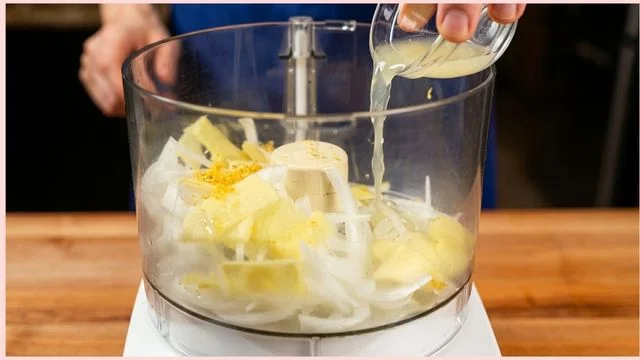
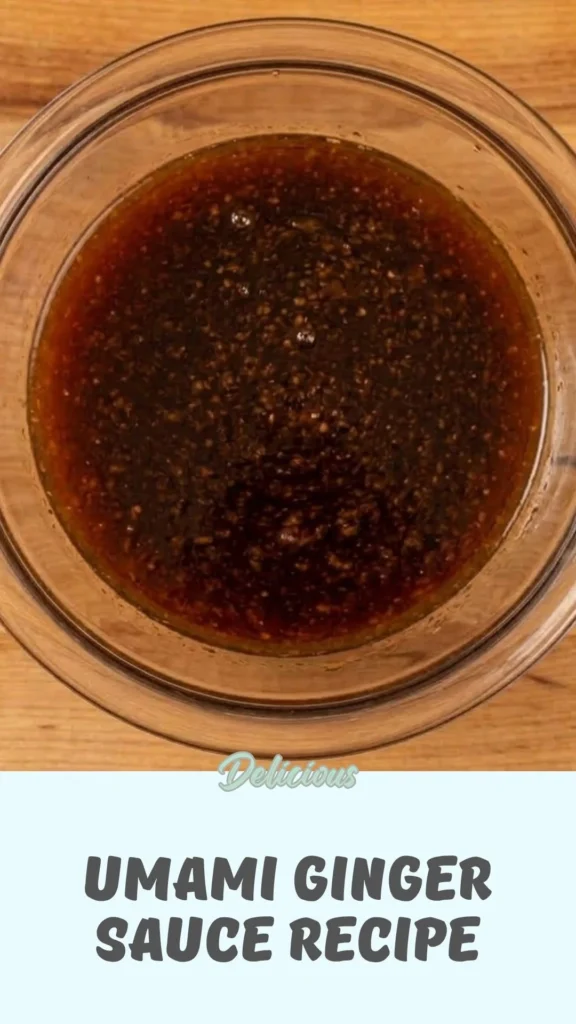
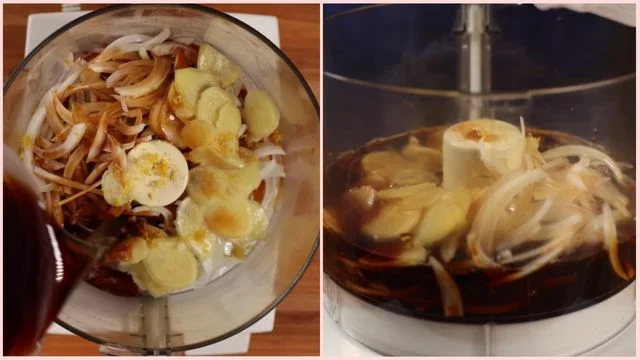
3. Combine everything. Add the onion, ginger, lemon zest, lemon juice, soy sauce, and seasoned rice vinegar to a food processor or blender.
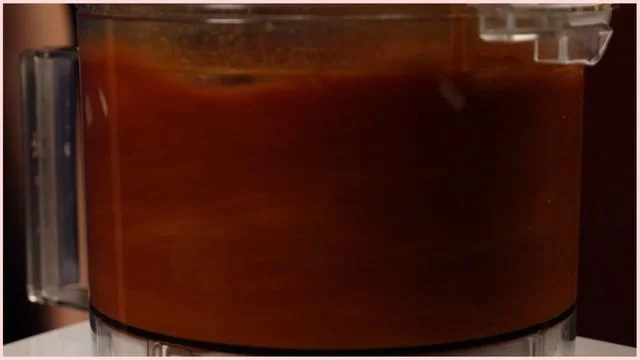
4. Blend. Pulse for about 20–60 seconds, until the mixture is well combined but still slightly chunky – you don’t want a smooth puree.
5. Taste and adjust. If the sauce tastes too sharp or tart, stir in a small pinch of sugar to mellow it out.
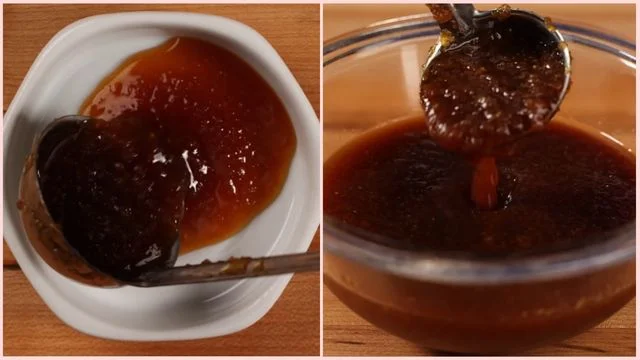
6. Chill (optional but recommended). Refrigerate for a few hours to let the flavors meld before serving.
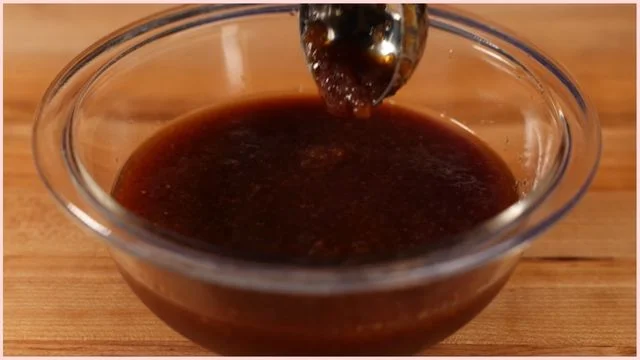
Pro Tips for Getting the Flavor Just Right
The biggest mistake people make with umami ginger sauce is over-blending – you want texture, not a smooth liquid, so pulse rather than run the blender continuously. Use fresh ginger, not the jarred paste kind, for a cleaner, sharper bite.
Freshly squeezed lemon juice also makes a noticeable difference over bottled juice. If your sauce tastes harsh right after blending, don’t panic: the flavors soften and round out significantly after a few hours in the fridge, so always taste again before adjusting further.
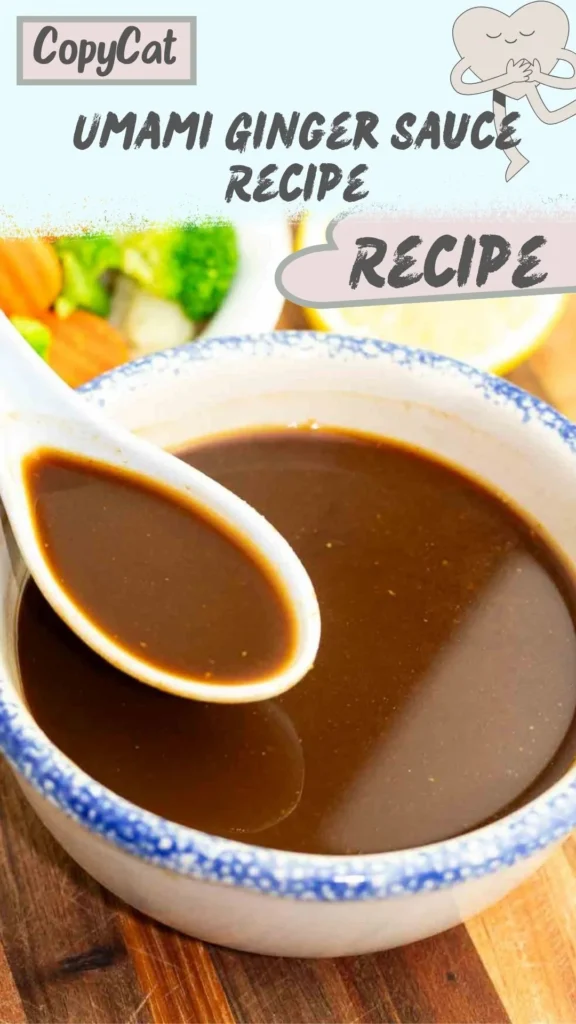
When it comes to soy sauce, a naturally brewed variety gives more depth than a cheap, thin one. Lastly, slice your onion and ginger thin before blending – thick chunks won’t break down evenly and can leave the sauce unbalanced in texture.
Easy Variations to Customize This Food
Want a spicier kick? Blend in a small piece of fresh garlic or a pinch of red pepper flakes. For a nuttier, richer version, add a teaspoon of toasted sesame oil.
If you prefer it sweeter (great for dipping sauces), increase the sugar slightly or add a touch of honey. For a citrus twist, swap the lemon for lime or yuzu juice.
You can also thin the sauce with a splash of water or extra rice vinegar if you want a lighter drizzling consistency for salads rather than a thicker dipping sauce.
Best Ways to Use This Food in Your Meals
This umami ginger sauce is one of the most versatile condiments you can keep on hand. Drizzle it over grilled or pan-seared chicken, steak, or salmon for an instant restaurant-style finish – it’s especially good with hibachi-style meals alongside fried rice and sautéed vegetables.
Use it as a dipping sauce for dumplings, spring rolls, or potstickers instead of plain soy sauce. It also doubles beautifully as a salad dressing; toss it with shredded cabbage, carrots, and cucumber for a quick slaw, or spoon it over a simple green salad.
Try it as a marinade for tofu, shrimp, or chicken before grilling, letting the ginger and soy tenderize and flavor the protein. For an easy weeknight bowl, pour it over steamed rice, roasted vegetables, and a fried egg. Even a simple bowl of noodles gets an instant flavor boost with a spoonful stirred in.
How to Store and Keep It Fresh
Store your umami ginger sauce in an airtight jar or container in the refrigerator, where it will keep well for up to 3–4 weeks thanks to the soy sauce and vinegar acting as natural preservatives.
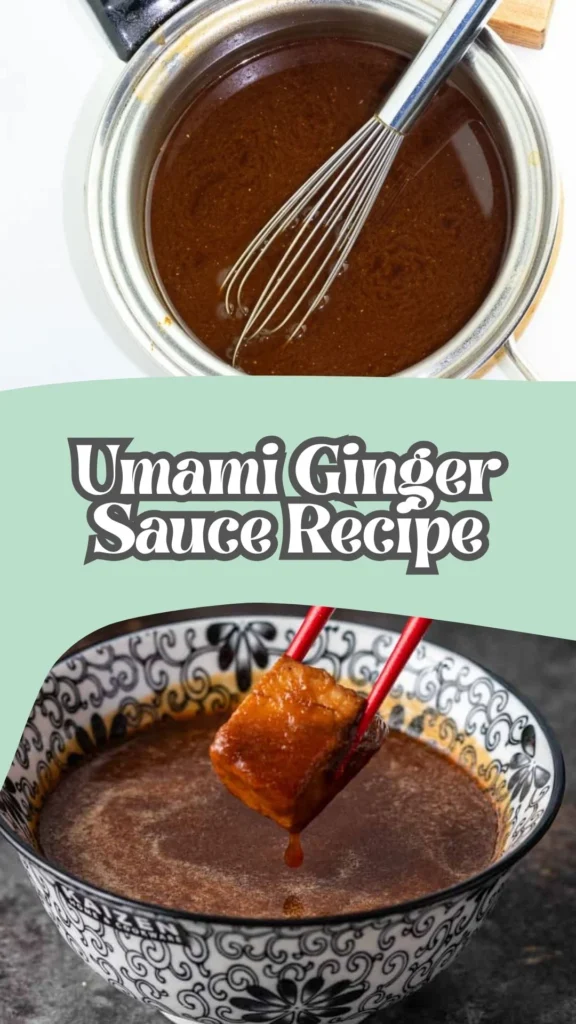
No reheating is needed – simply give it a stir before use, since the ingredients may settle. Avoid freezing, as the texture of the onion and ginger can turn watery once thawed.
Nutrition Facts and Dietary Notes
Per 2-tablespoon serving, this umami ginger sauce is roughly 25–35 calories, mostly from sodium-rich soy sauce, with negligible fat. It’s naturally dairy-free and low in sugar, especially if you skip the optional sweetener.
For a gluten-free version, use tamari instead of regular soy sauce. It’s already vegan-friendly as written.
Ginger offers digestive and anti-inflammatory benefits, while using low-sodium soy sauce can make this a lighter option for those watching salt intake.
FAQs About This Umami Ginger Sauce Recipe
Here, you’ll find answers to some common questions about the Umami Ginger Sauce Recipe that people frequently ask
Can I make umami ginger sauce ahead of time?
Yes – in fact, it tastes better after chilling for a few hours or overnight, since the flavors have time to meld.
Is this sauce spicy?
No, it’s not spicy on its own. It’s savory and tangy, though you can add chili flakes or fresh garlic for heat.
Can I use bottled lemon juice instead of fresh?
You can, but fresh lemon juice gives a brighter, cleaner flavor that’s worth the extra effort.
How long does umami ginger sauce last in the fridge?
Stored in an airtight container, it stays fresh for 3–4 weeks.
Can I make this sauce gluten-free?
Yes – simply substitute tamari for regular soy sauce.
Why is my sauce too tart?
Fresh sauce can taste sharp right after blending. Stir in a small pinch of sugar, or let it chill for a few hours to mellow naturally.
Umami Ginger Sauce Recipe
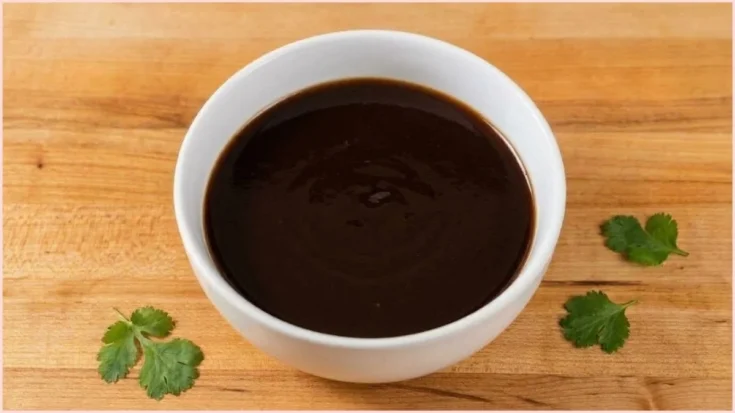
The first time I made this umami ginger sauce, I was trying to recreate a dipping sauce from my favorite hibachi restaurant – the one that makes plain steamed rice taste like a special occasion. After a few kitchen experiments, I landed on this simple blend of ginger, onion, soy sauce, and rice vinegar, and honestly, it topped the restaurant version. It takes less than five minutes to throw together, needs no cooking, and keeps in the fridge for weeks.
Ingredients
- 2½ ounces (70 g) onion, thinly sliced
- 1 ounce (28 g) fresh ginger, thinly sliced
- Zest of 1 small lemon
- 1½ tablespoons (22 ml) lemon juice
- 1 cup (240 ml) soy sauce
- ½ cup (120 ml) seasoned rice vinegar
- Sugar, to taste (optional)
Instructions
- Prep the aromatics. Thinly slice the onion and ginger so they blend easily.
- Zest and juice the lemon. Set the zest and juice aside.
- Combine everything. Add the onion, ginger, lemon zest, lemon juice, soy sauce, and seasoned rice vinegar to a food processor or blender.
- Blend. Pulse for about 20–60 seconds, until the mixture is well combined but still slightly chunky – you don’t want a smooth puree.
- Taste and adjust. If the sauce tastes too sharp or tart, stir in a small pinch of sugar to mellow it out.
- Chill (optional but recommended). Refrigerate for a few hours to let the flavors meld before serving.
Notes
Store your umami ginger sauce in an airtight jar or container in the refrigerator, where it will keep well for up to 3–4 weeks thanks to the soy sauce and vinegar acting as natural preservatives. No reheating is needed – simply give it a stir before use, since the ingredients may settle. Avoid freezing, as the texture of the onion and ginger can turn watery once thawed.
Nutrition Information:
Yield:
10Serving Size:
1Amount Per Serving: Calories: 60
This umami ginger sauce recipe proves that big, restaurant-quality flavor doesn’t require complicated techniques or long ingredient lists. With just a handful of pantry staples and five minutes of prep, you get a bold, versatile condiment that upgrades everything from grilled meats to simple rice bowls.
Make a batch, keep it in the fridge, and you’ll find yourself reaching for it constantly – it’s that good.
If you enjoyed this recipe, be sure to save it and share it with friends. Don’t forget to follow us on Pinterest and YouTube for more cozy and comfort recipes.